Professional Tile & Backsplash Install in Irvine, CA
Tile installation with clean layout, consistent spacing, and neat edges for a finished look.
What’s included
We install tile with attention to layout, consistent spacing, and clean edges. We’ll discuss pattern, cut lines, and finish details before starting so the final look matches your expectations.
- Layout planning (lines, pattern, focal points)
- Consistent spacing and clean edge details
- Finish cleanup and next-step guidance
Common requests
Examples of work we handle for this service in Irvine homes and rentals:
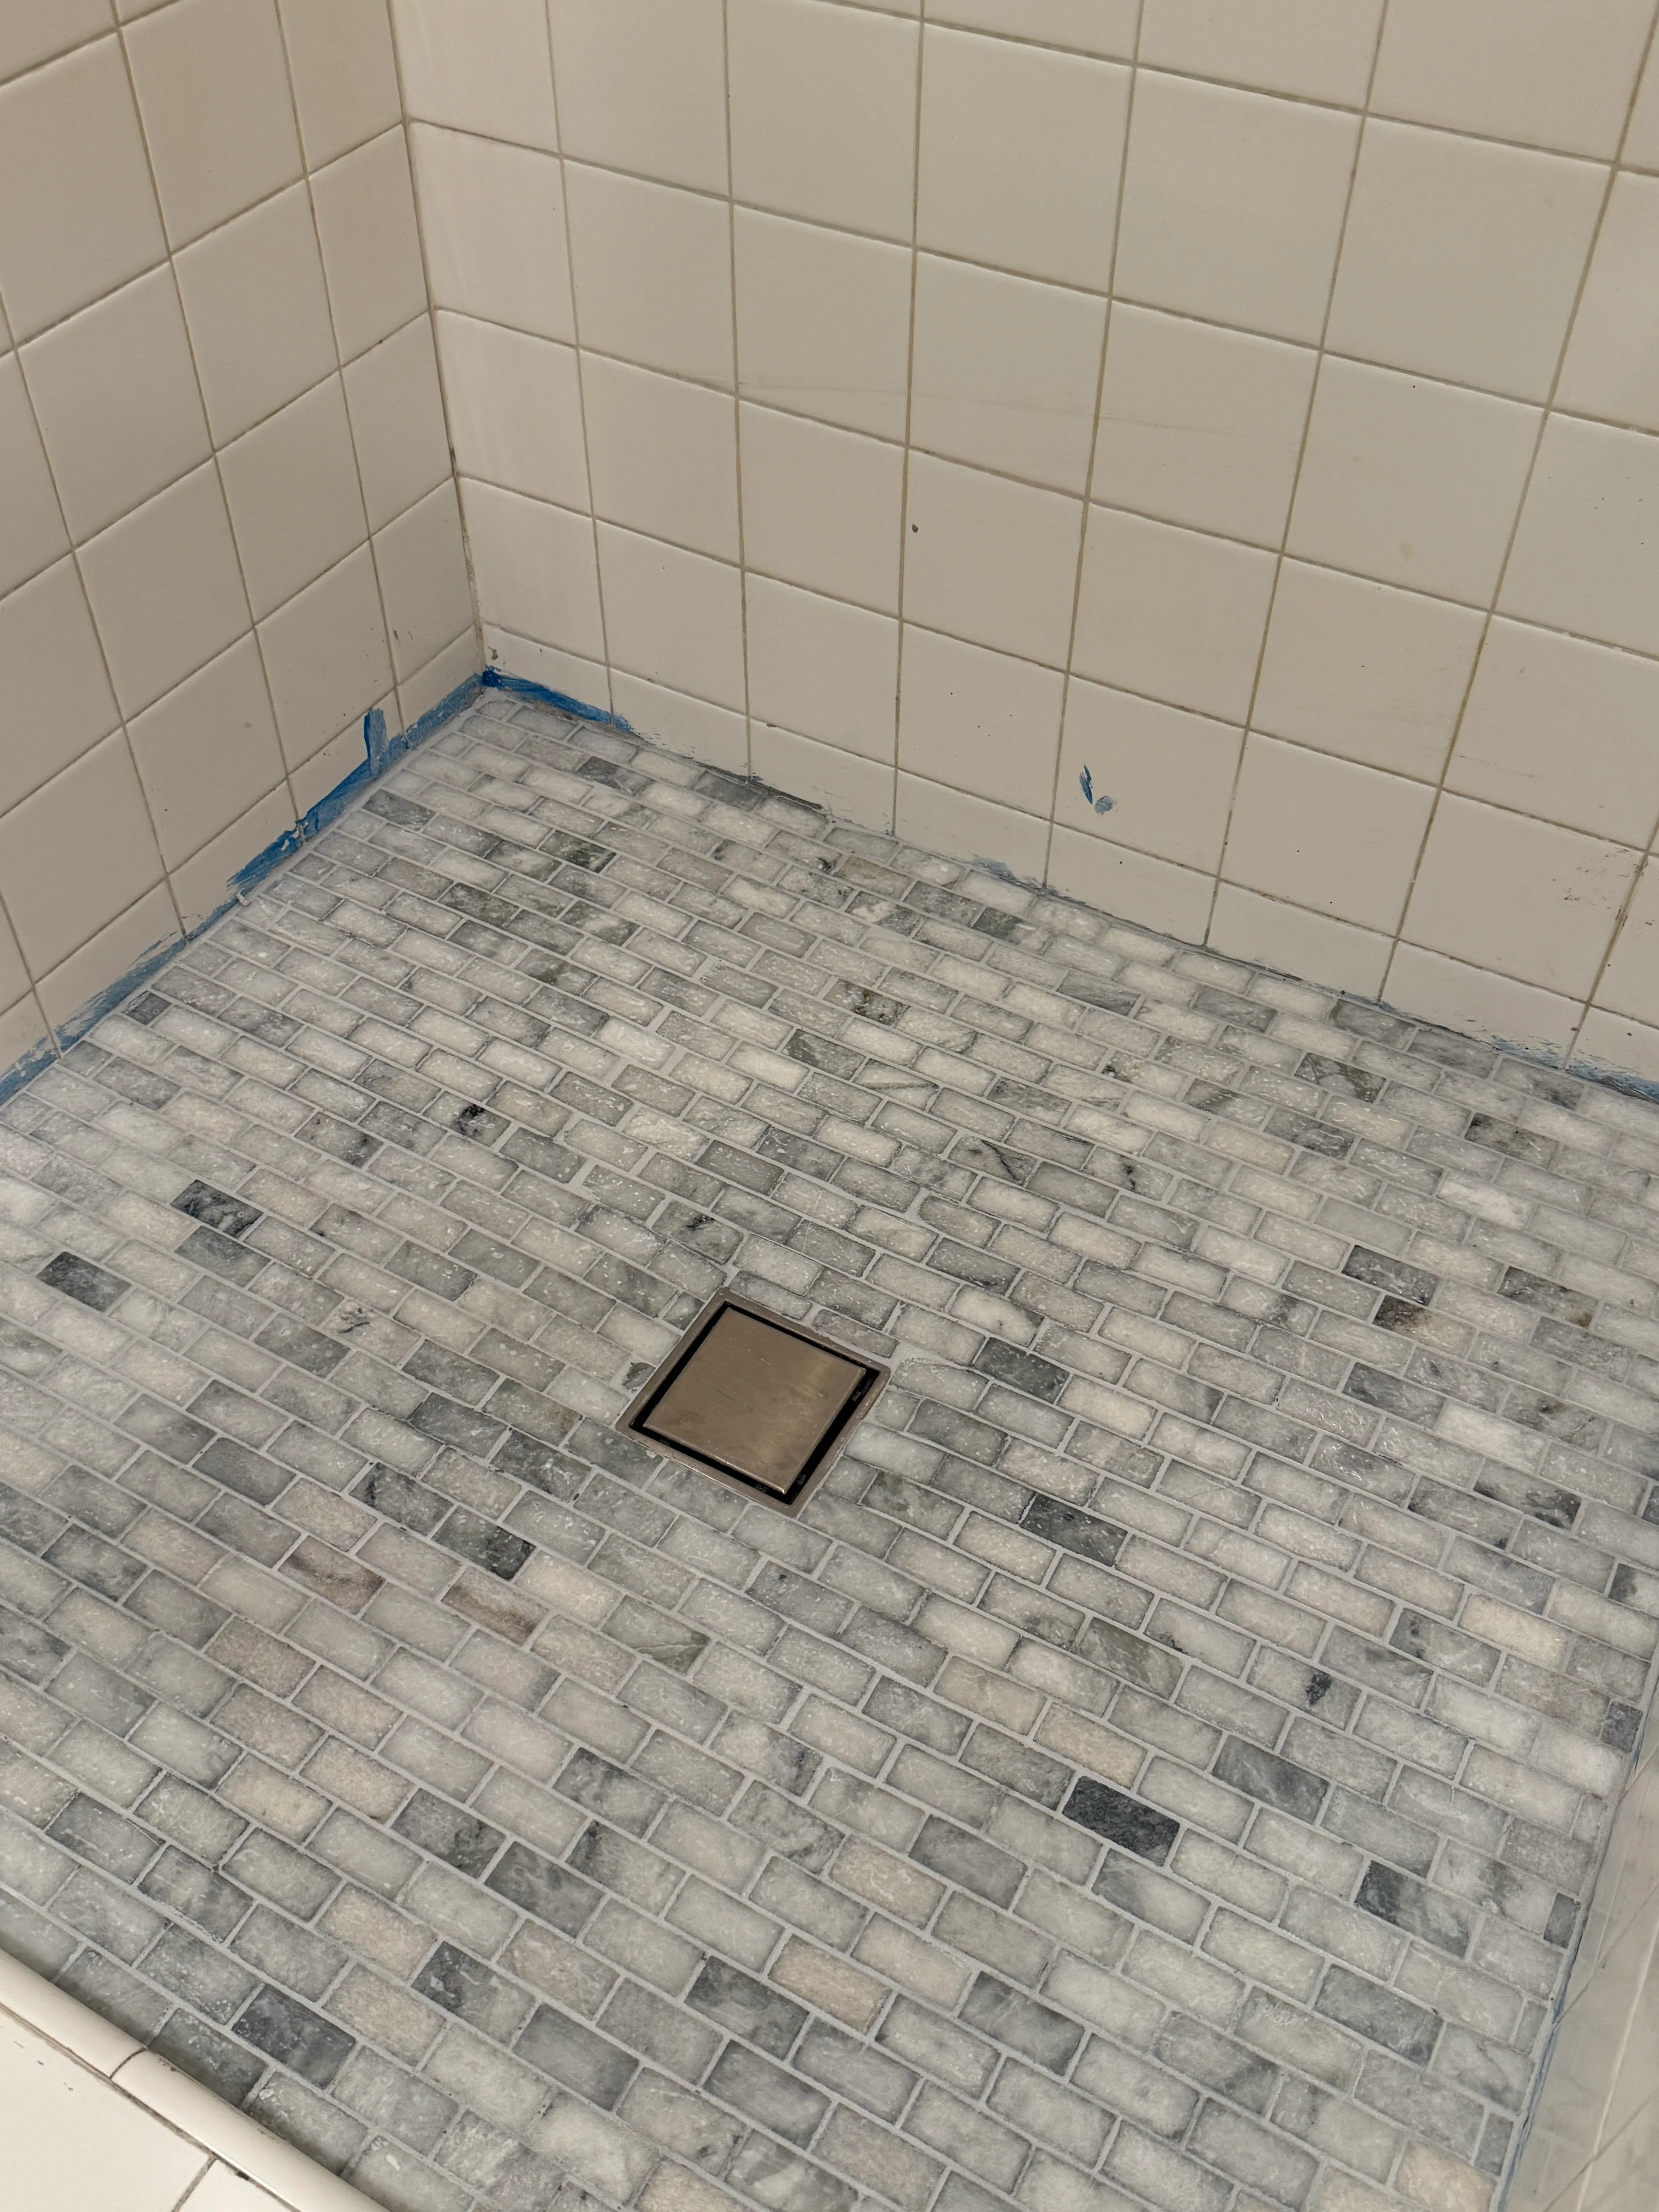
- Bathroom wall tile areas (small/medium)
- Backsplash install and finish edges
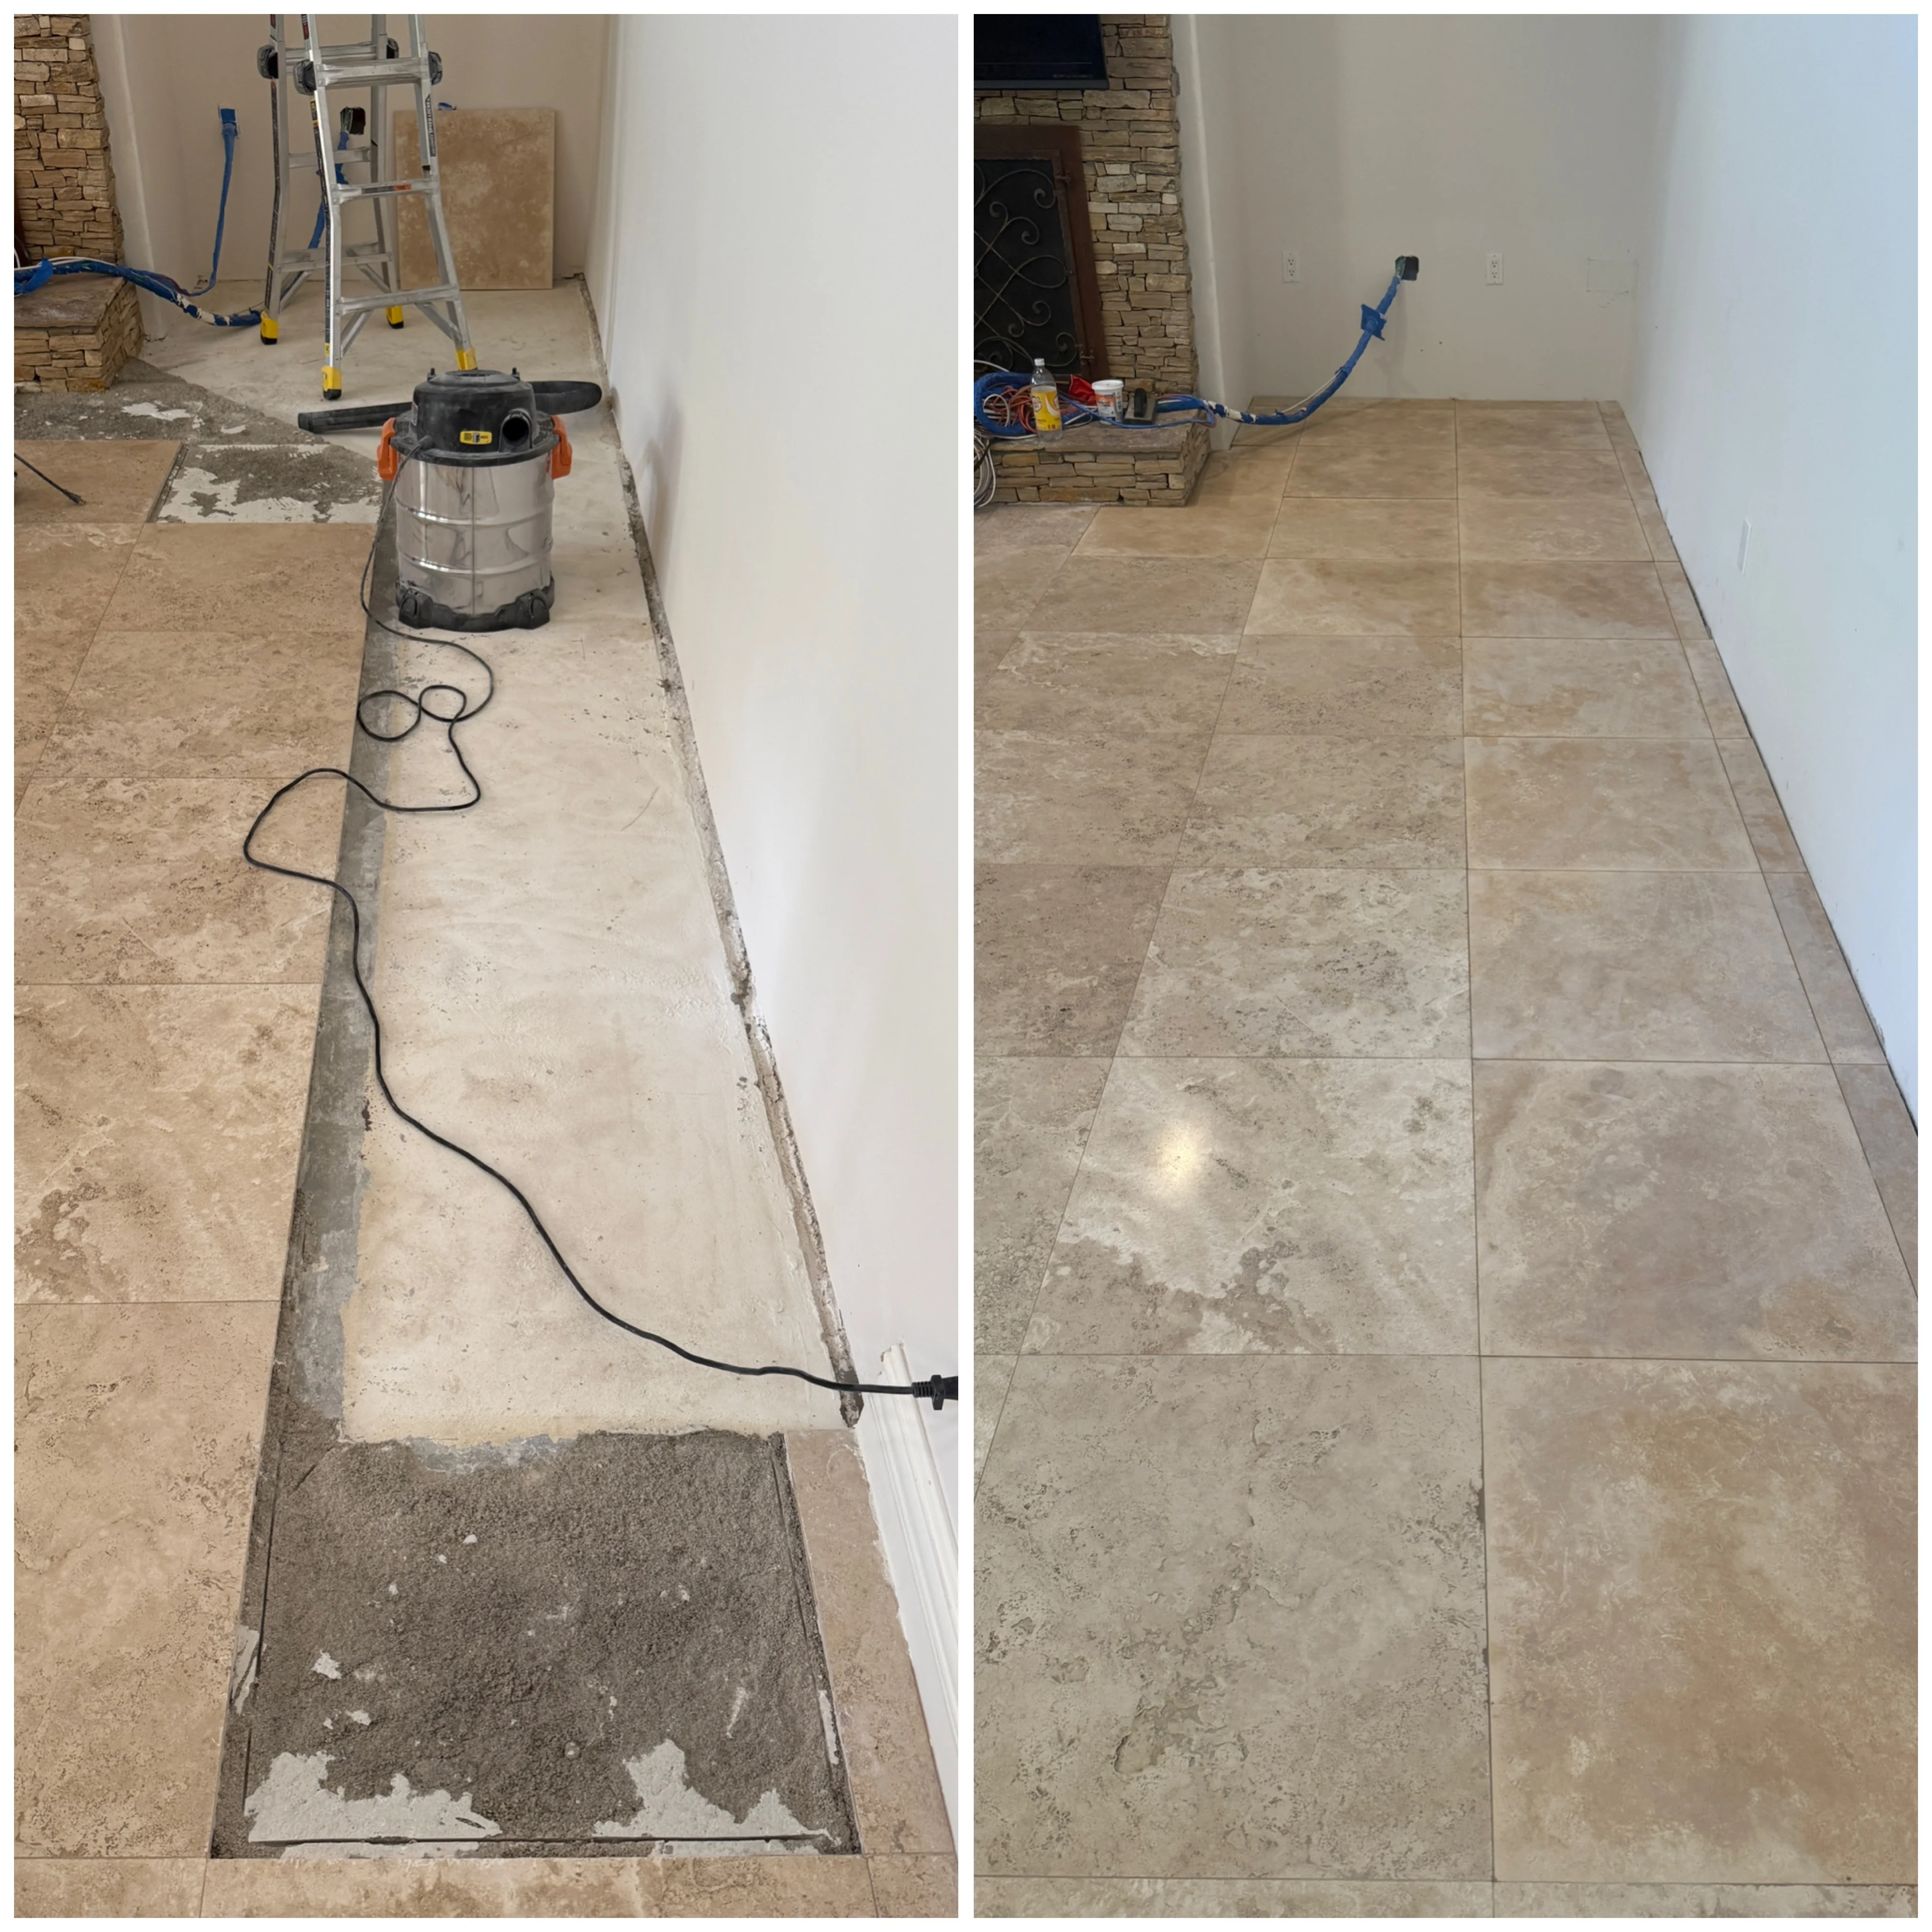
- Tile repair/replace small sections
- Regrout and recaulk after install
A few details that usually matter
For professional tile & backsplash install we pay attention to alignment and sealing. Bathrooms are unforgiving—water finds the weak spot.
Bathroom work comes down to details: level installs, clean edges, and sealing/caulking done right. It’s not flashy, but it’s what prevents problems later.
We’re based in Irvine and we regularly serve Lake Forest, Laguna Hills, Mission Viejo, and Aliso Viejo. If your job is time‑sensitive, send photos and (if you have them) product links/model numbers—then we can give you a faster, clearer answer.
Pricing, timeline, and what affects the estimate
Most professional tile & backsplash install estimates come down to the details: scope, access, and what we’re working around. (Tight spaces and fragile finishes change things.)
If you already have the product/fixture/material, perfect—send the link or model number. If you haven’t picked one yet, that’s okay too. We’ll just confirm sizing and compatibility first so you don’t buy the wrong thing.
If you’ve got a short list of tasks, include it. Bundling is usually the best value and it saves you repeat trips.
Quality checklist (how we keep the work clean)
We protect surfaces before we start—floors, counters, nearby walls, anything easy to scratch.
We measure, level, and dry‑fit where it makes sense. It’s faster to double-check now than “fix it later”.
We test and re-check at the end: function, alignment, and a quick walkthrough so nothing gets missed.
Our process (how the job usually goes)
-
Step 1Scope + water protection planBathrooms need careful sealing/caulking details and clean transitions.
-
Step 2Prep + demo (as needed)Remove/replace only what’s required, keep the space clean.
-
Step 3Install with alignment + sealingLevel installs, clean tile/fixture alignment, and proper sealing.
-
Step 4Final checksWater test where applicable and a final walkthrough.
Tools & materials (typical)
Exact materials depend on the job. If you already bought a fixture or product, send the link/model number so we can confirm it’s a good fit.